Vaultwarden is an unfortunately-named password manager. It’s an open source project that’s compatible with the web, app, and browser extension clients of Bitwarden, a paid password manager.
The instance we’ll use is at bitwarden.chromatin.ca. This is important as using bitwarden.com is entirely separate!
You can use it as your own password manager, but you can also set up an “Organization” and invite others so you have a secure way to share passwords and other sensitive information.
Create an account
Visit bitwarden.chromatin.ca and press “Create Account”.
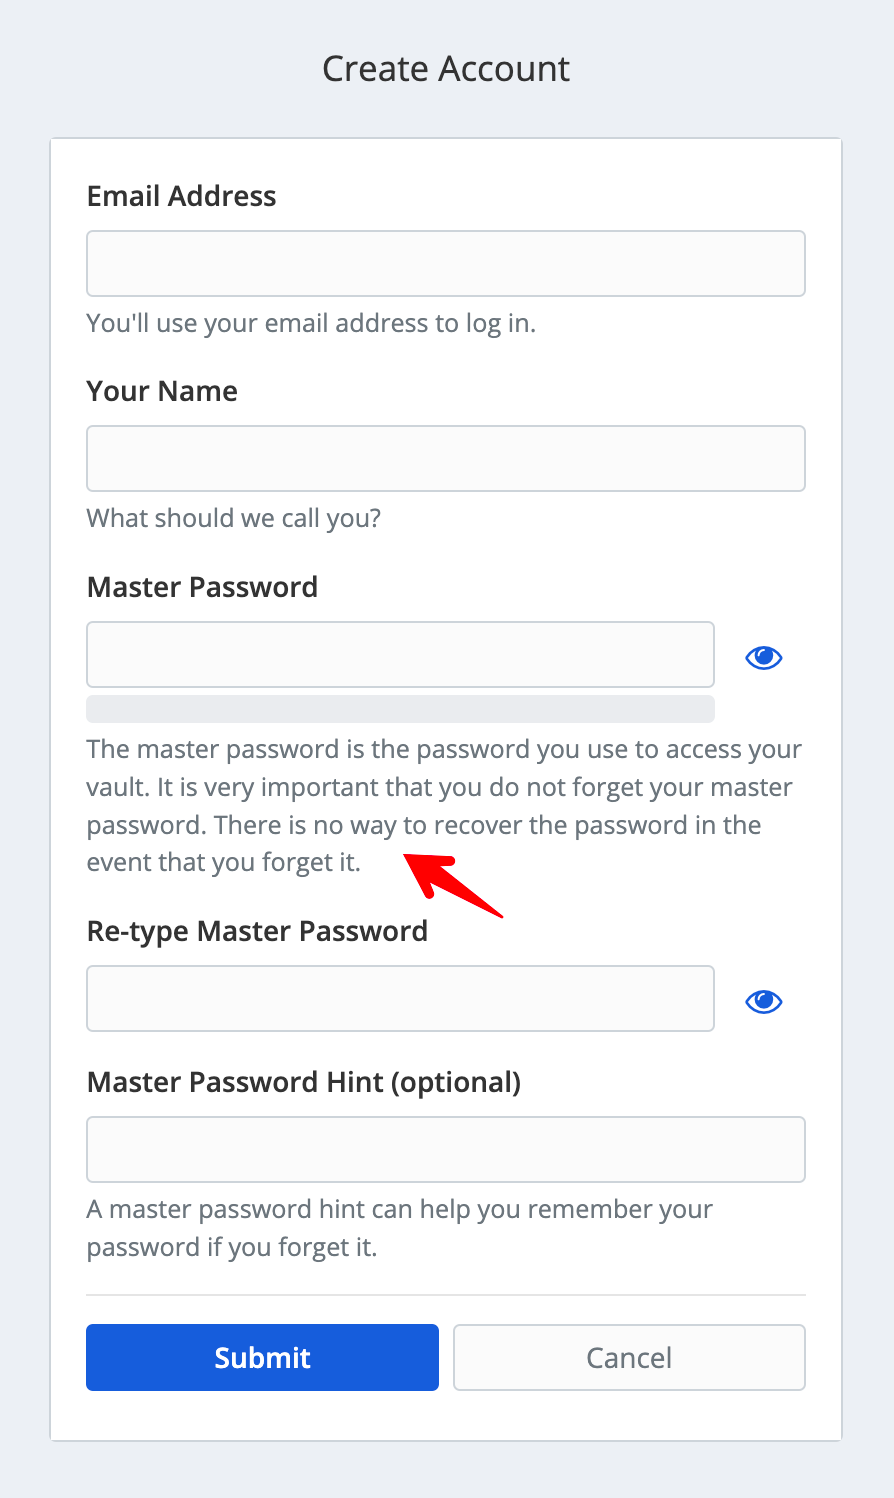
The warning here is important: the account will be encrypted with your password, so if you lose it, we’ll have to delete your account and start over!
Password manager philosophy
The world of digital credentials is a terrible mess, as people need to log into dozens of apps and sites on a regular basis. It’s common for people to use the same password for multiple sites, which leaves their accounts vulnerable if a site is hacked and stored passwords insecurely.
The idea behind a password manager is that you can stop remembering most passwords and instead just remember the single password manager password. The password manager will store your other passwords securely, and you can access them conveniently with apps and browser extensions. It’s sometimes a bit more friction, but ultimately being freed of mentally tracking the baroque password rules each site enforces.
That means you should use a unique password for the password manager. And all the passwords stored within it can be unique too, but you won’t even have to know them!
I recommend that you not save the “master” password in any cloud storage as this could leave your passwords and those of the groups you’re in vulnerable if your cloud storage account is hacked. If you’re able to go “all in” with a password manager, you just need that one password! The Bitwarden app and browser extensions can cache your password and use biometrics to unlock the vault if you have them available.
Log in to the web interface
You’ll receive an email that your account has been created. The browser will return to the login page and you can enter your newly-chosen password.
You’ll receive another email, which happens every time you log in with a new browser/app/device, as a security precaution.
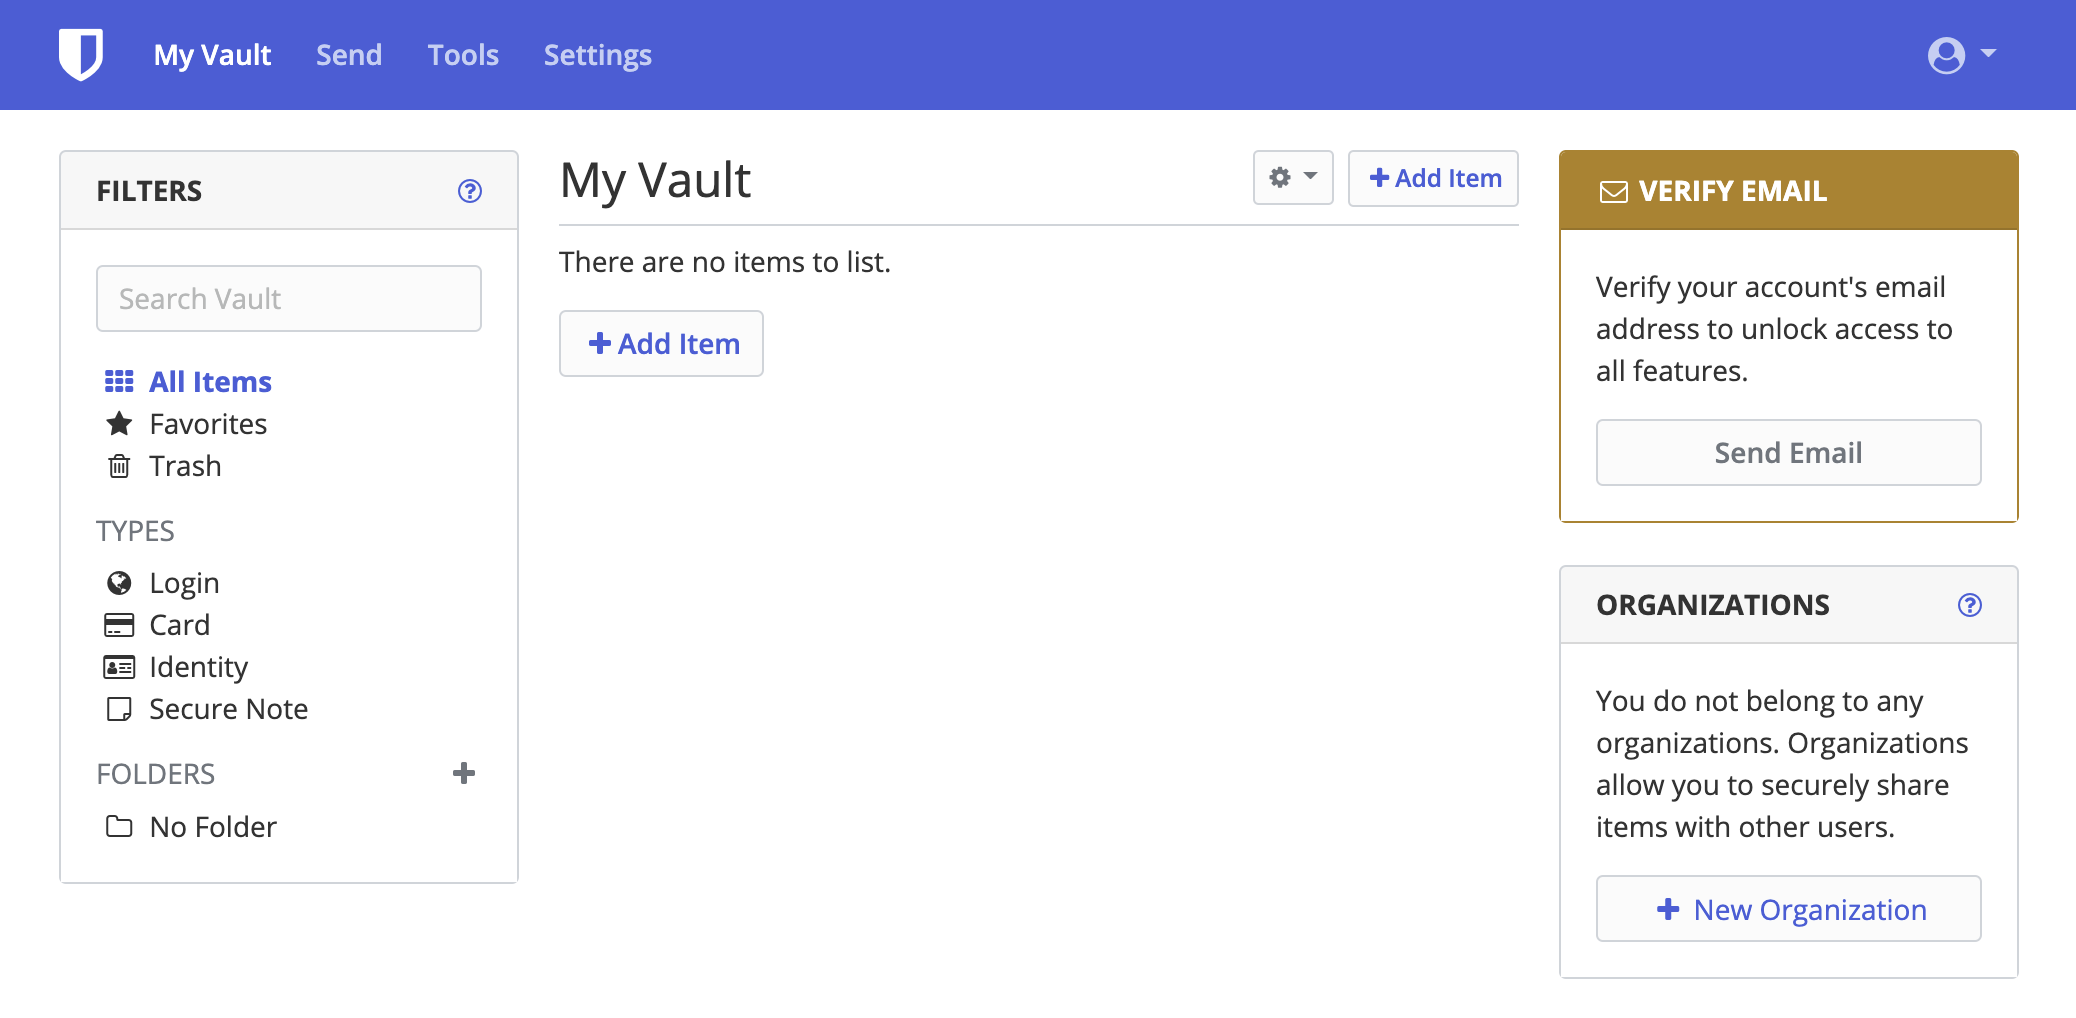
Store a password on the web interface
Your “vault” starts off as empty. Let’s say you’re creating an account on AudioBook Bay. Enter a name of your choice and your username (often email address), then generate and copy the password, which you don’t even need to see.
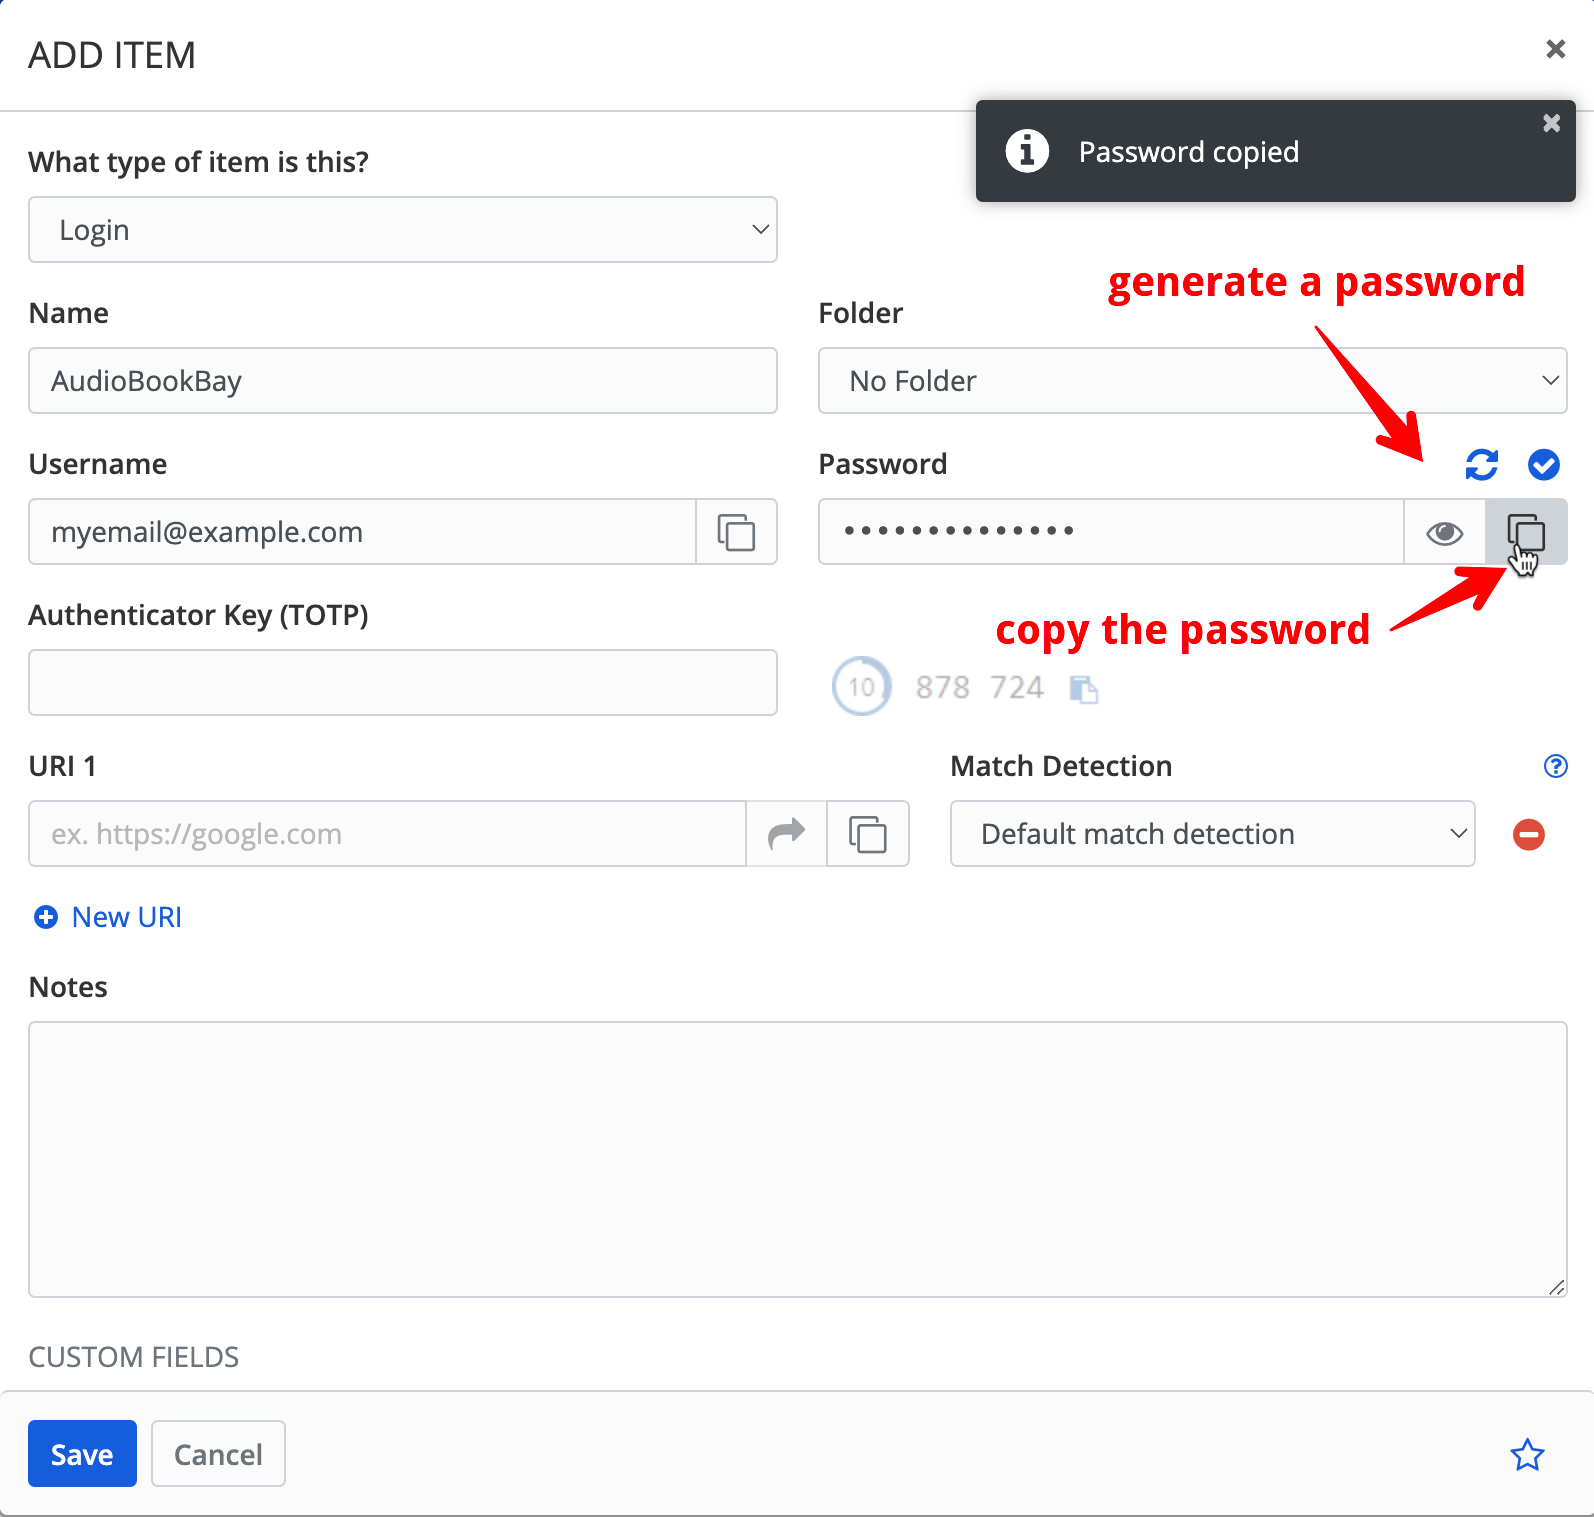
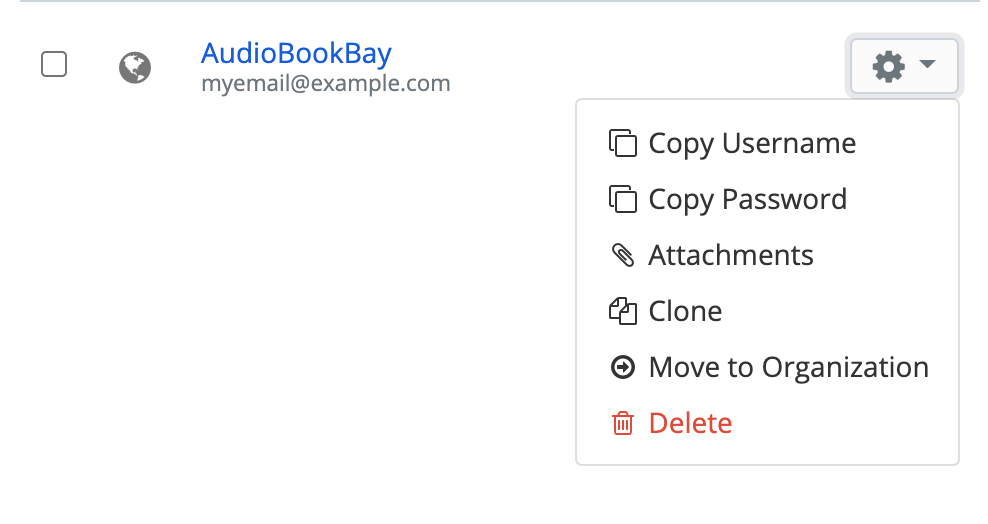
Save the login information and you’ll have the first item in your vault! You can quickly copy the username and password from the popup menu and paste them into the AudioBook Bay account creation form:
Use the browser extension
It’s much more convenient to use a browser extension for a password manager because it can autofill login forms for you and offer to store newly-created credentials.
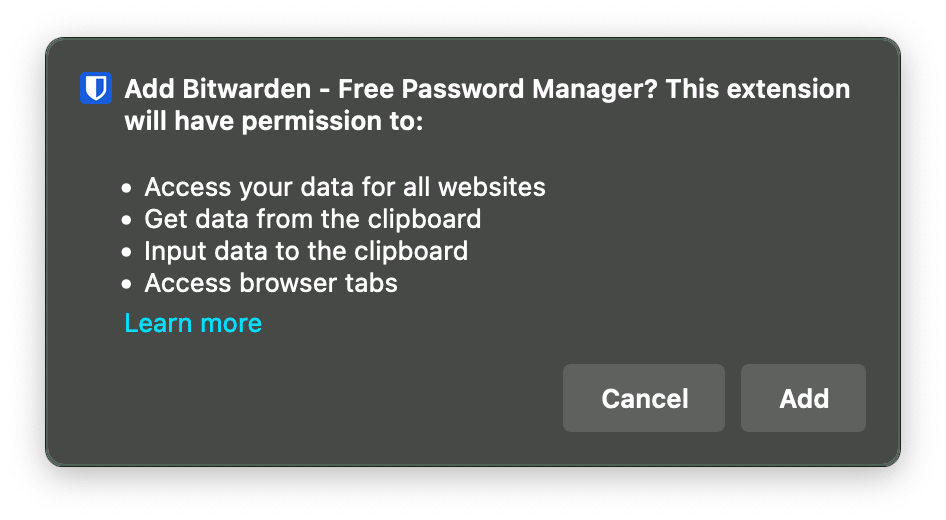
Install a browser extension and accept the scary warning:
Configure the Server URL
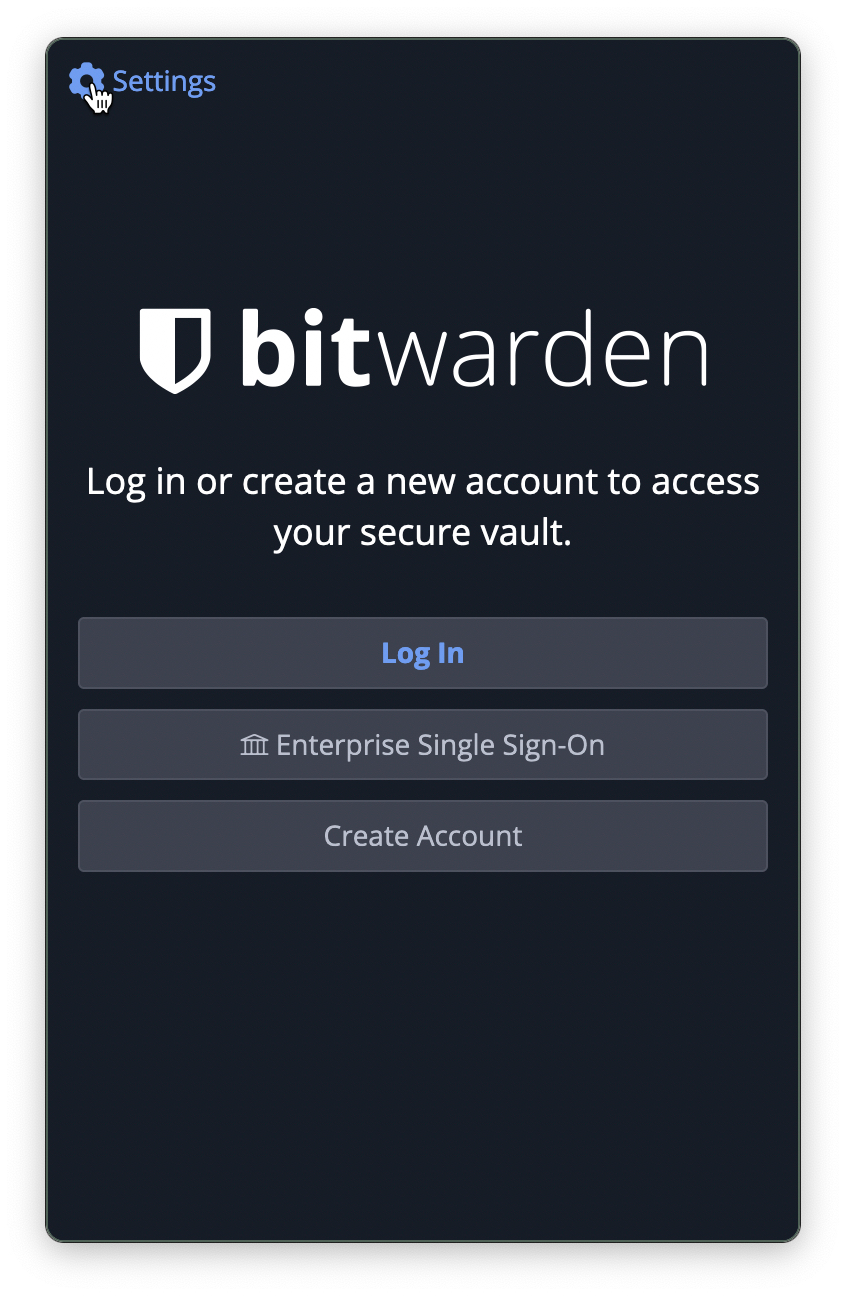
This is a critical step because we are not using the default Bitwarden server, we’re using the one at bitwarden.chromatin.ca. Visit the settings:
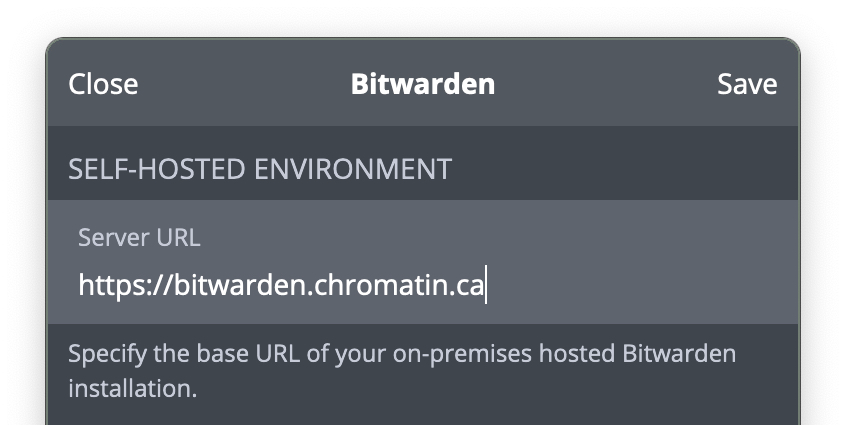
Enter https://bitwarden.chromatin.ca in the first field and press Save, you can ignore everything else.
Log in to the extension
This is the account you created at bitwarden.chromatin.ca. You’ll receive another email 😬
Then you’ll see your lone account, with convenient buttons to copy the username and password:

Store new credentials with the browser extension
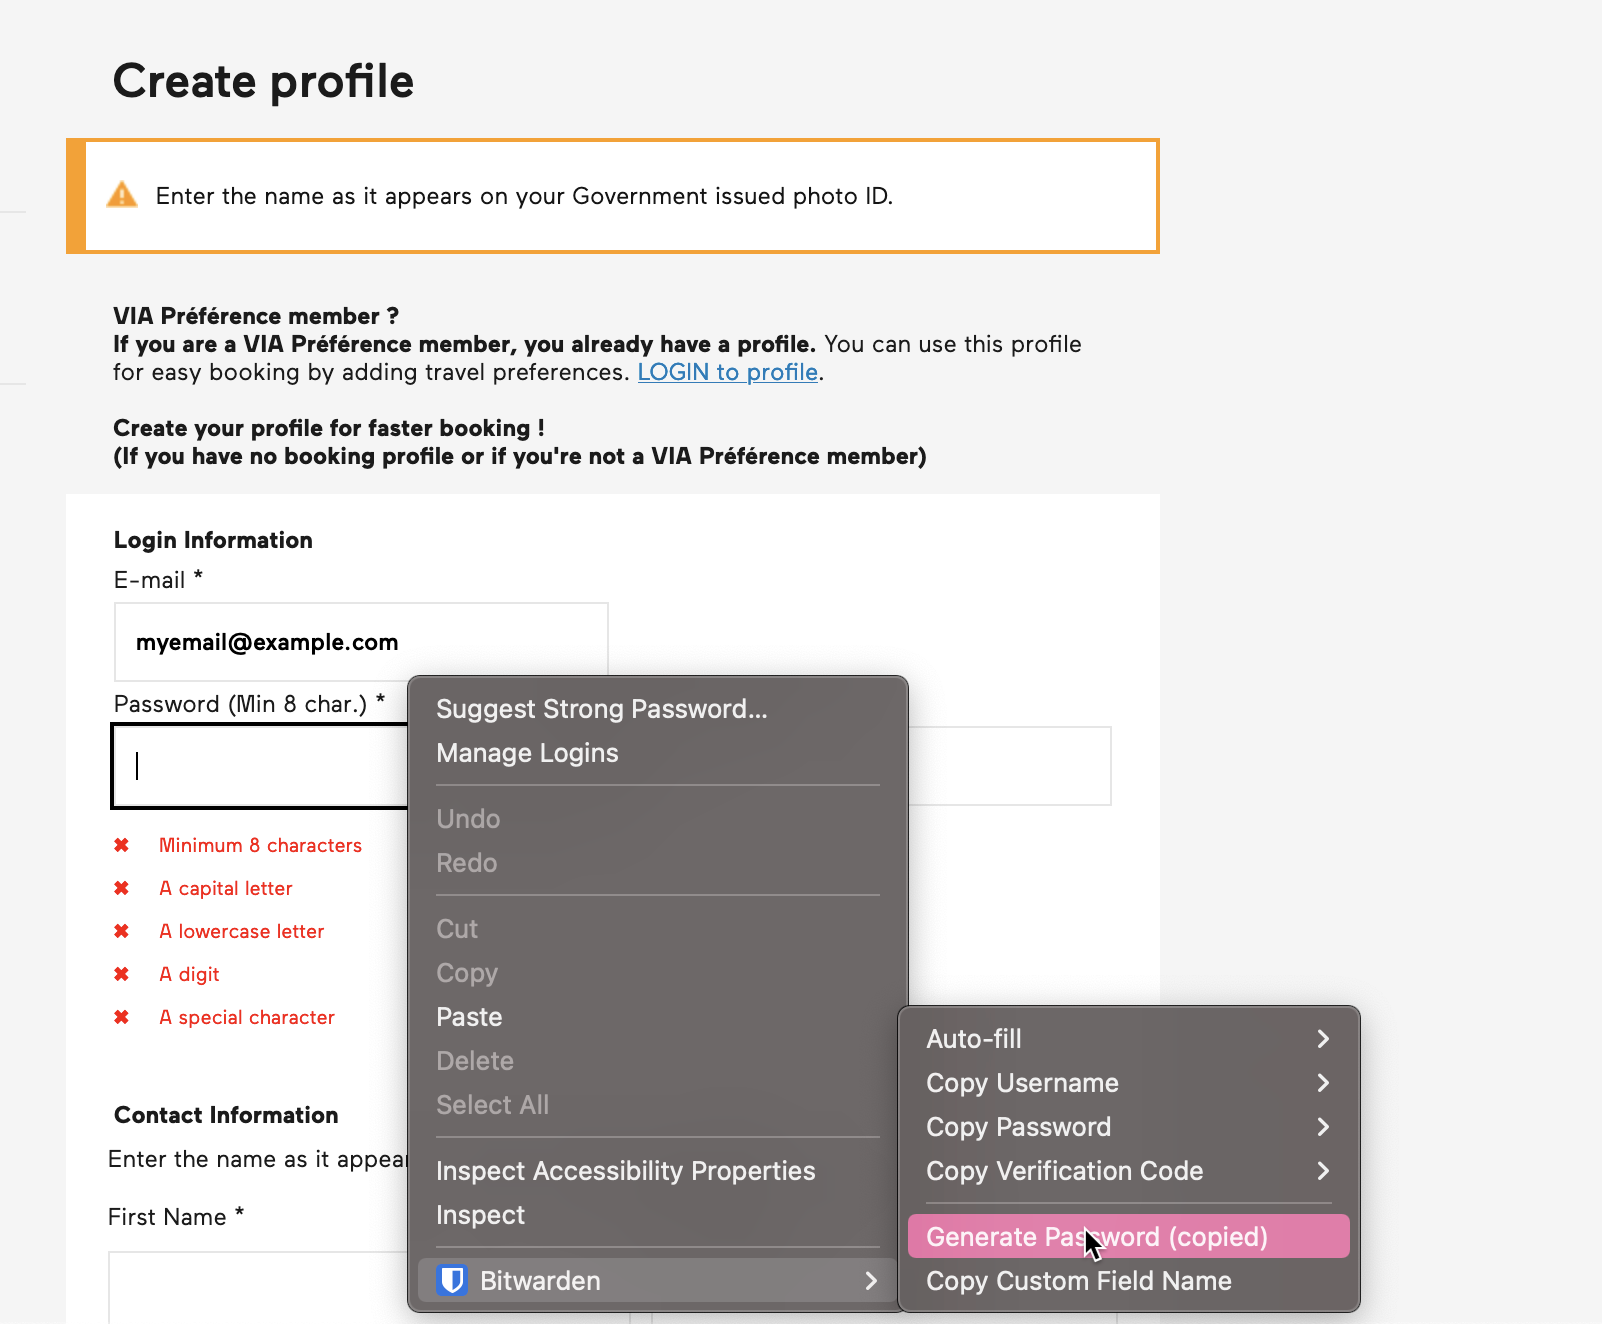
The extension can generate passwords for you when you’re signing up for a new account. Let’s create a Via Rail profile. If you right-click on the password field, Bitwarden has a quick option to generate a password, which you can then paste into the field.
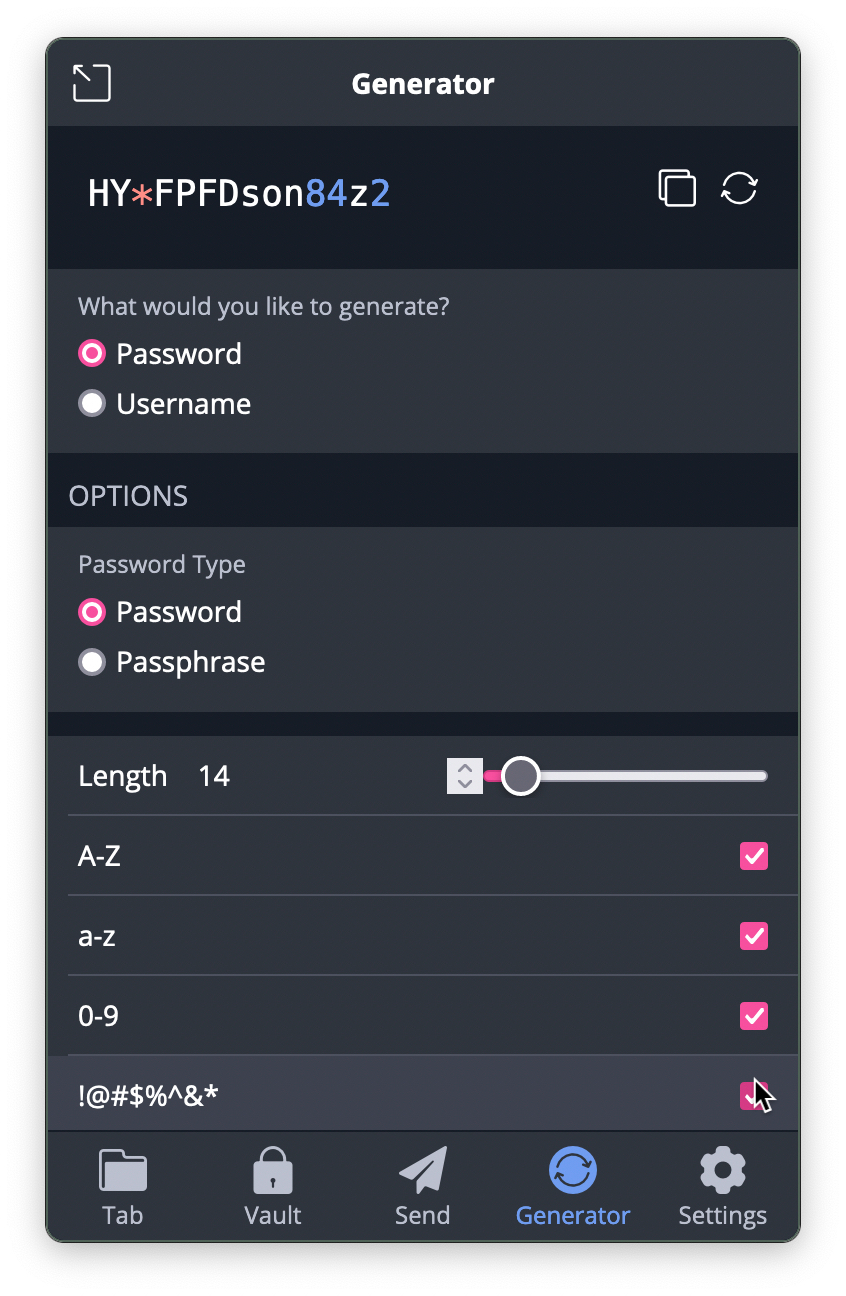
Unfortunately, Via insists on the password including a “special character”, which is counter to best practices, but a common mistake. For cases like this, Bitwarden gives you fine-grained control over password-generation, accessible via the extension menu (usually beside the browser’s address/search field):
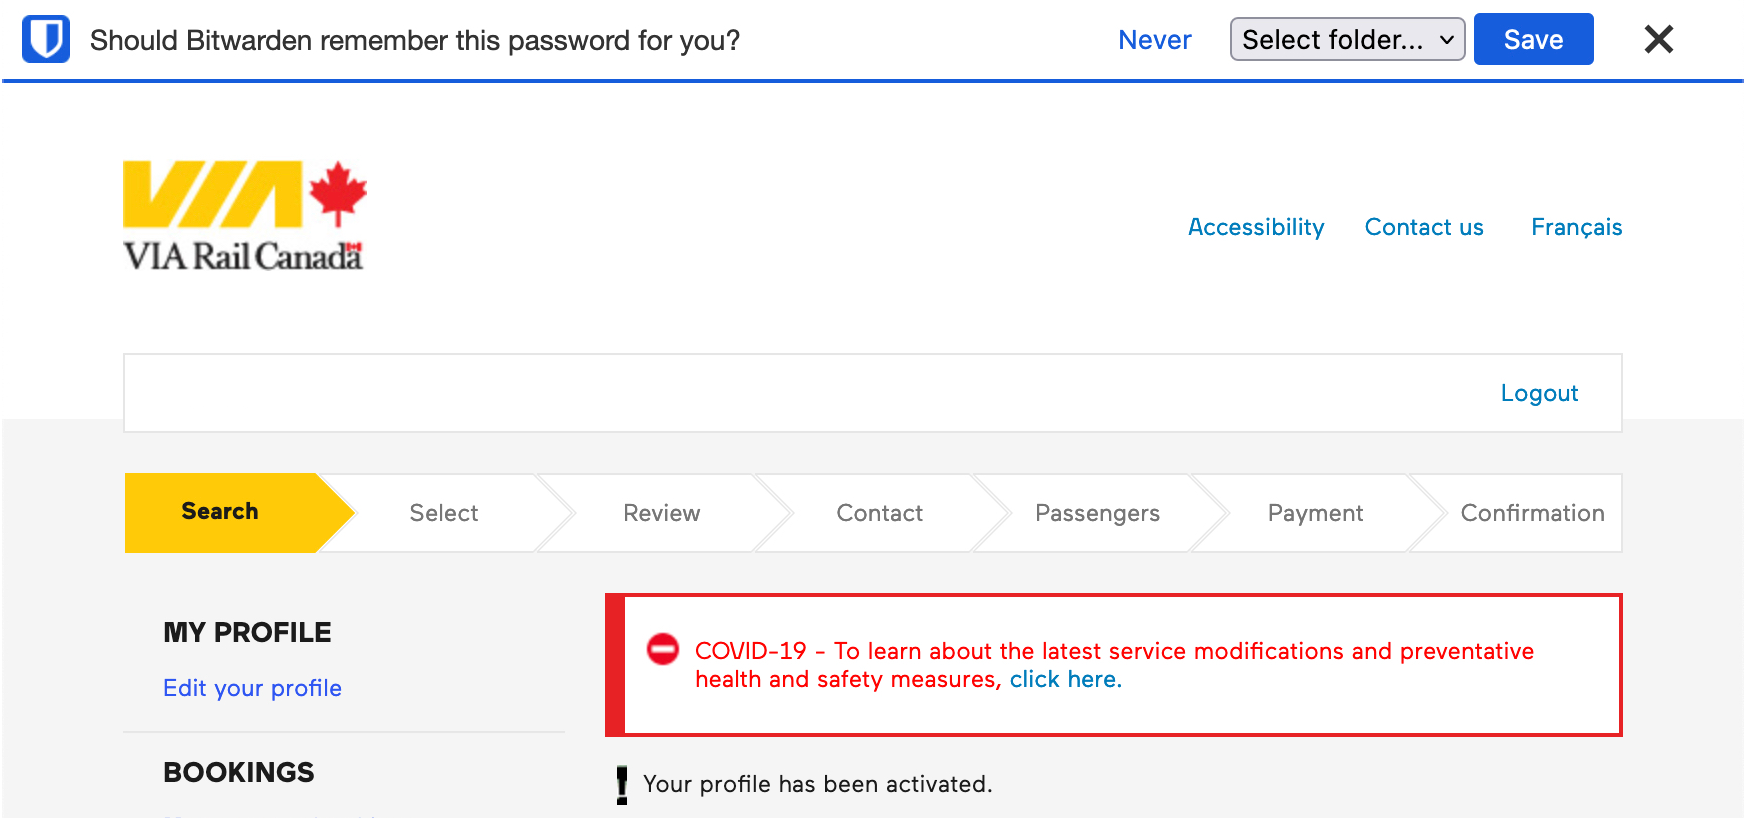
Copy that password and paste it into the field, this should satisfy the draconian requirements! Once you receive the confirmation email, verify the account, and log in, Bitwarden will offer to remember the password with a banner at the top of the screen:
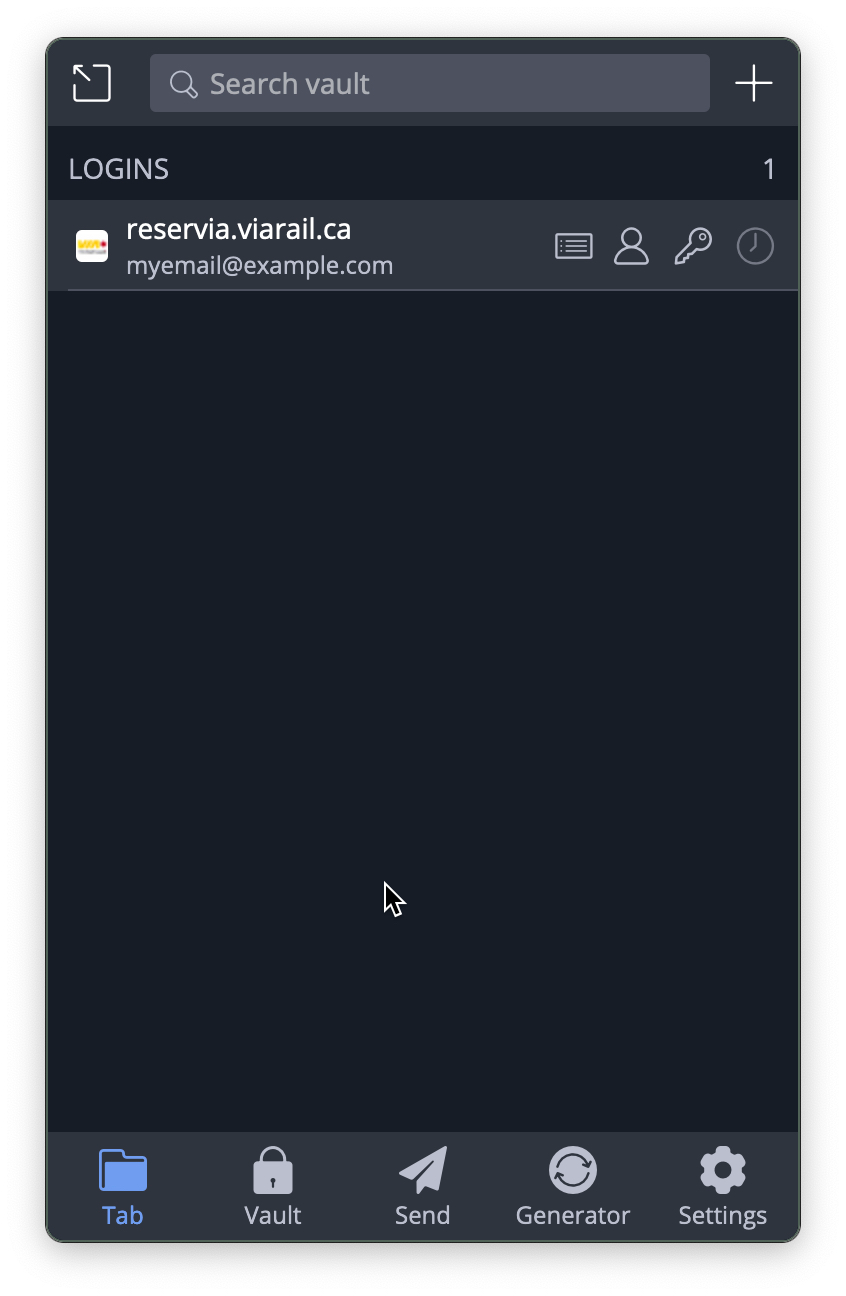
This happens when you log into a site that you don’t have credentials stored for. If you look at the extension, you’ll see it’s showing that credentials exist for the current tab:
Create an organisation
Bitwarden is helpful for managing your own passwords, but also useful within organisations to share passwords securely. The onboarding and interface are somewhat clunky and permissions management is mostly only available through the web interface, but once it’s set up credentials are all accessible through the browser extension and apps.
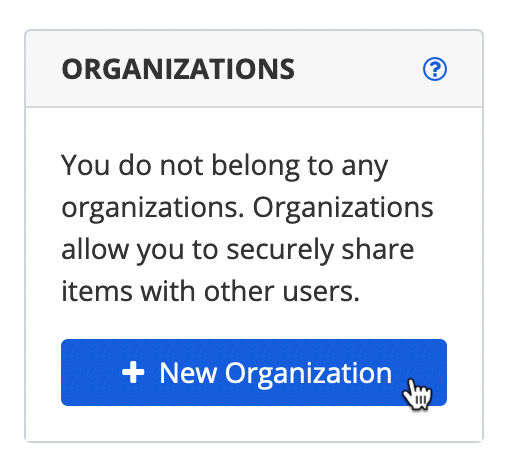
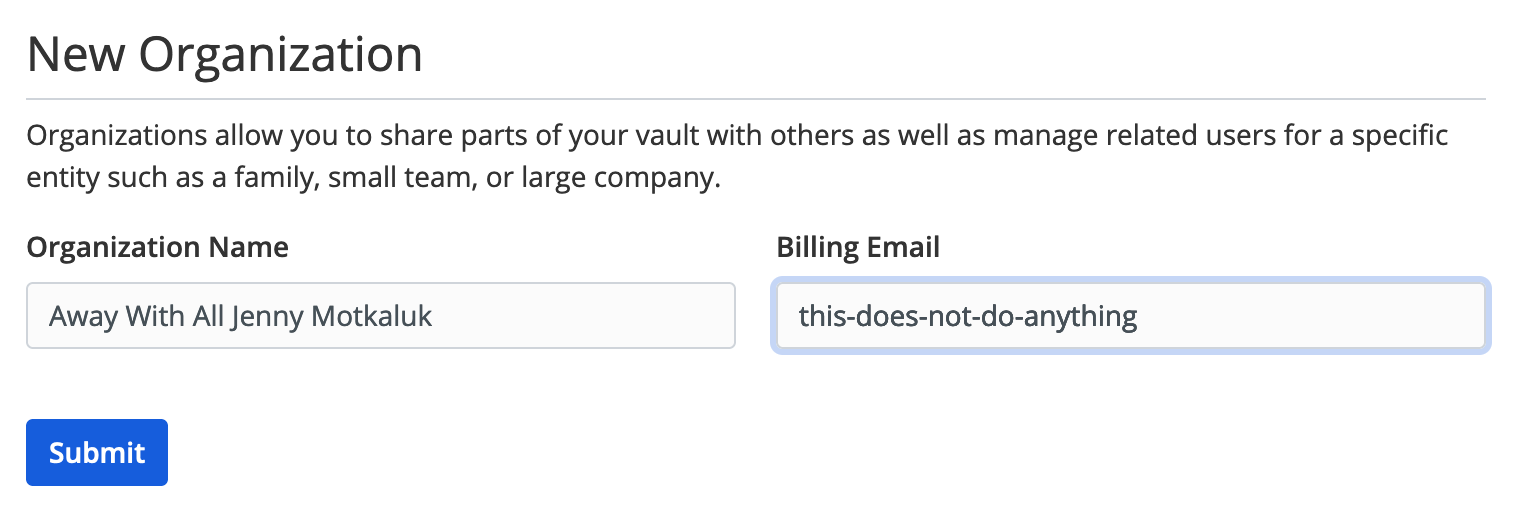
You can create a new organisation after logging in on the web:
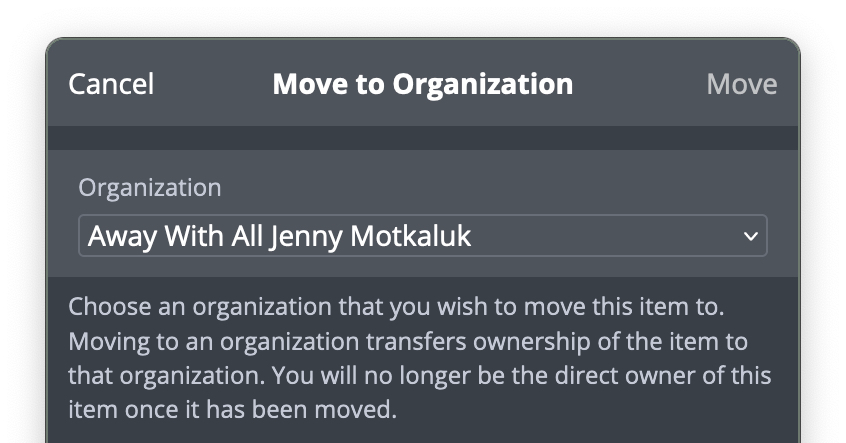
You can create login items in the organisation or then transfer an item in your vault to it:
Create password collections
If your organisation wants to have credentials that not everyone has access to, you can use “Collections” to sequester them. Then you can manage who has access to what collections after you’ve invited other users.
Invite someone to an organisation
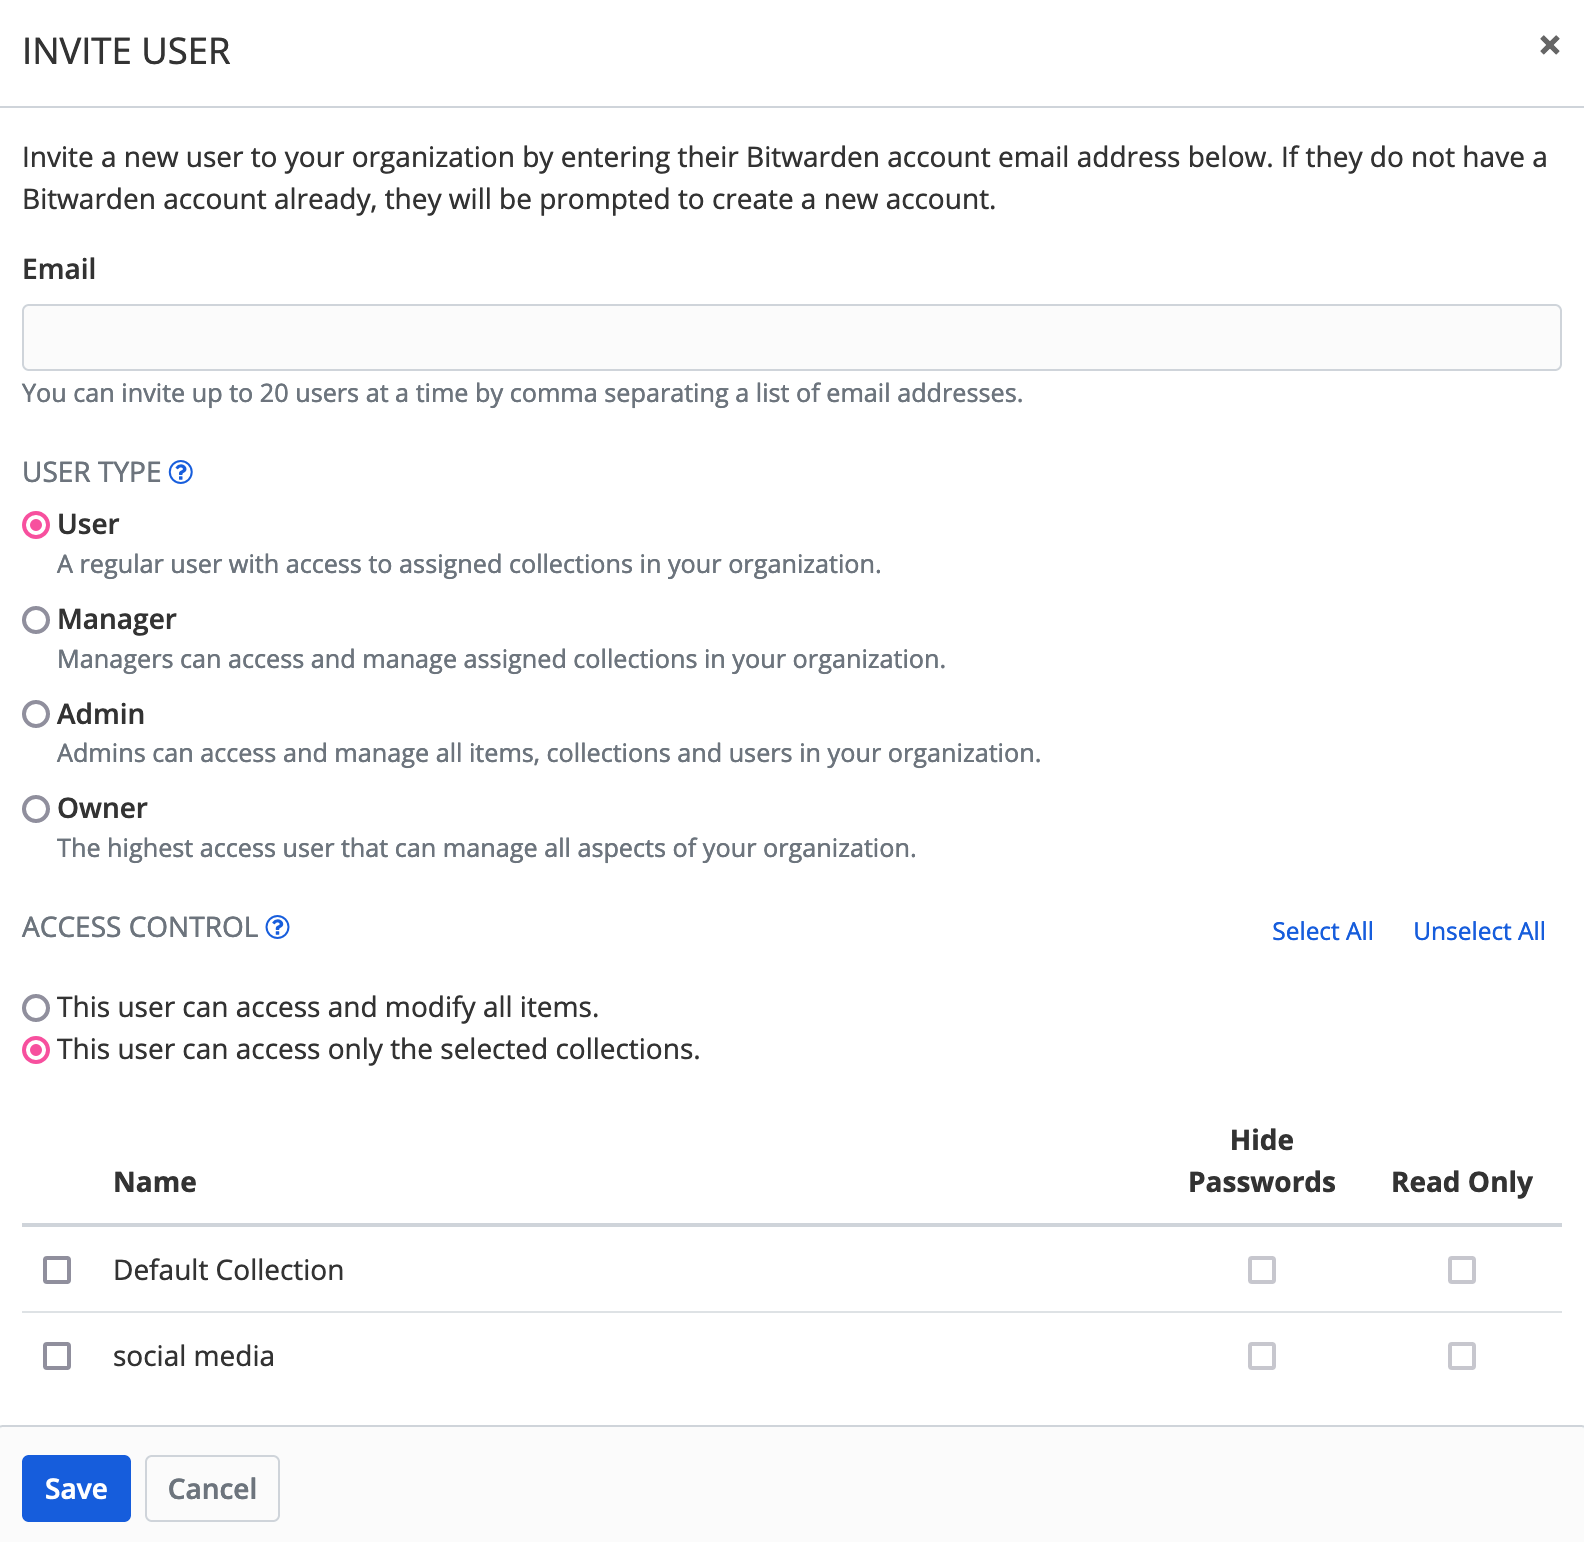
On the “Manage” tab of the organisation, click “Invite User” and enter the email address(es) of the people you want to invite. You can choose their permissions and what collections they will have access to:
Accepting the invitation
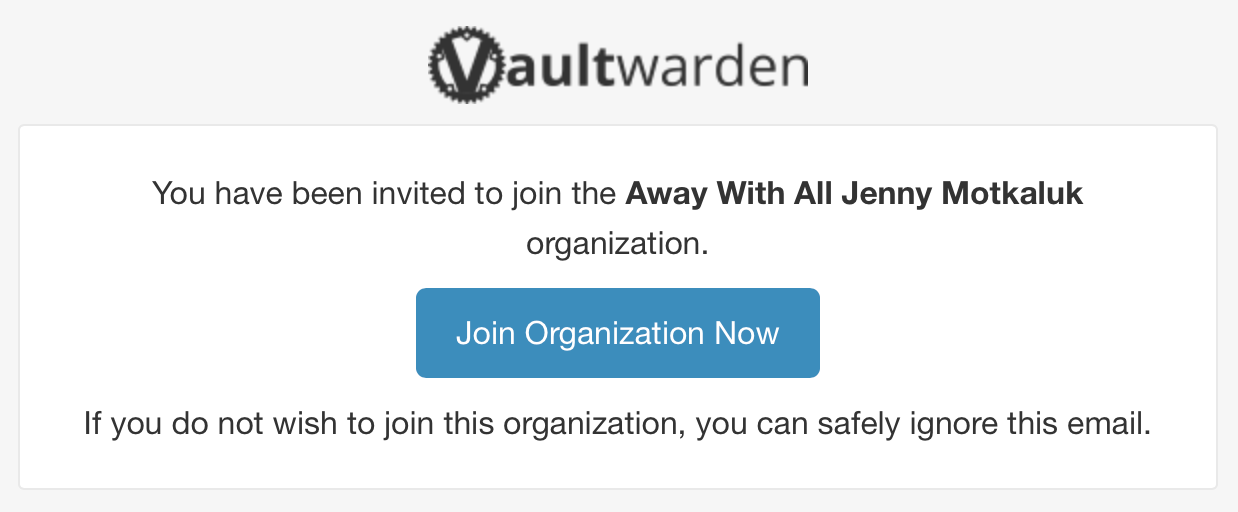
The invited user will receive an email, they can visit the link and either create an account on bitwarden.chromatin.ca or connect to their existing account.
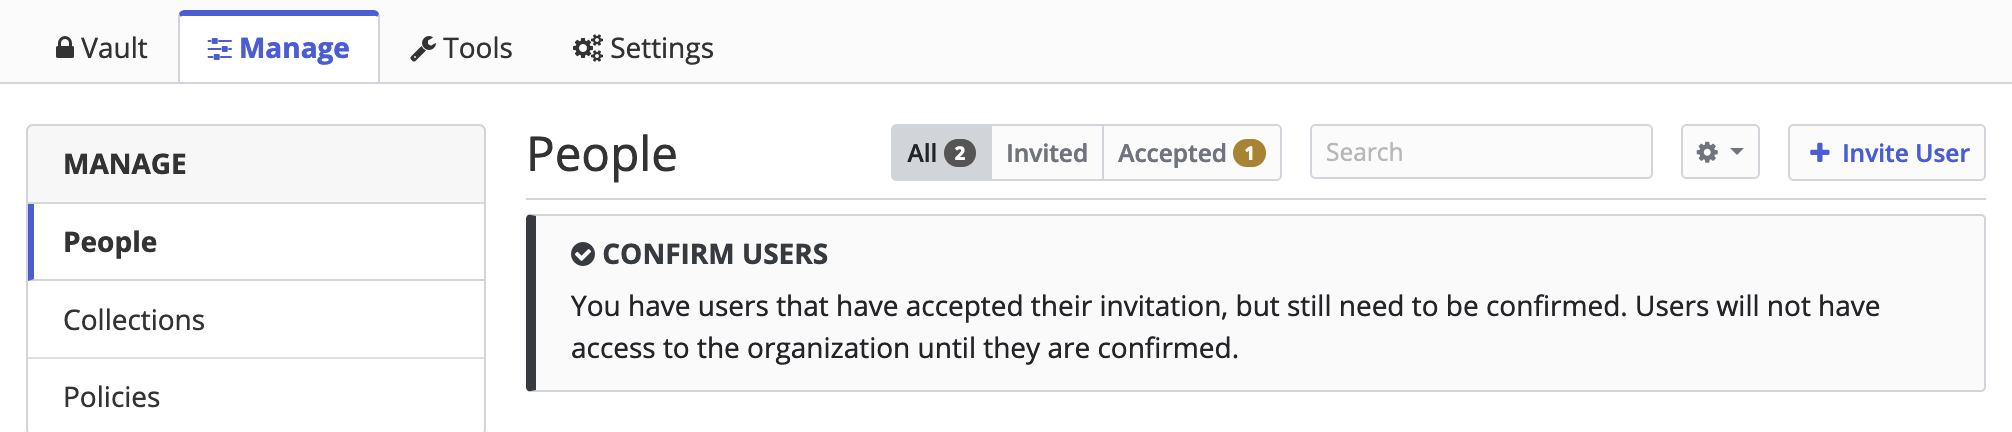
They should let you know they’ve accepted the invitation, then you need to approve them. You can also see when they’ve accepted in the Manage tab:
Approving the new user

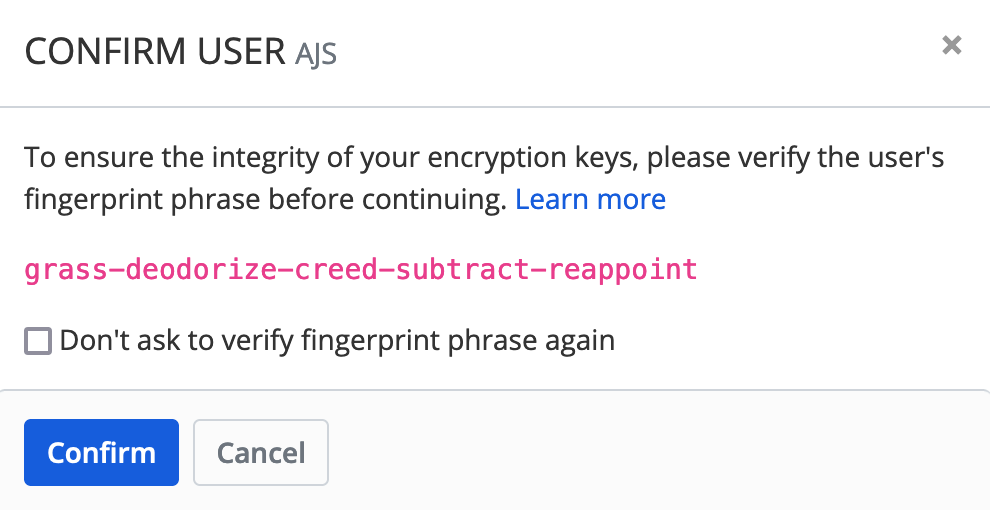
When you choose “Confirm” under the menu for the new user, it’ll show a “fingerprint phrase”:
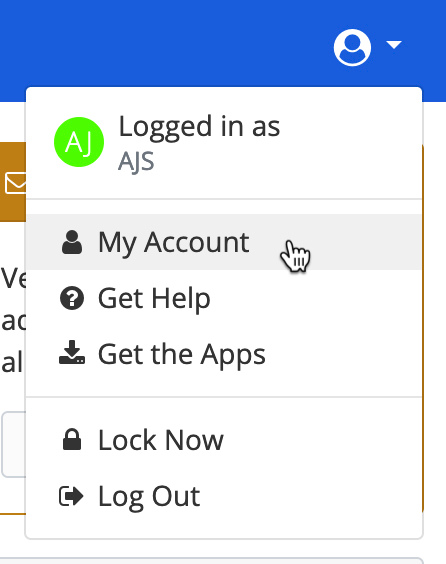
The new user should visit their My Account page to see the fingerprint phrase:
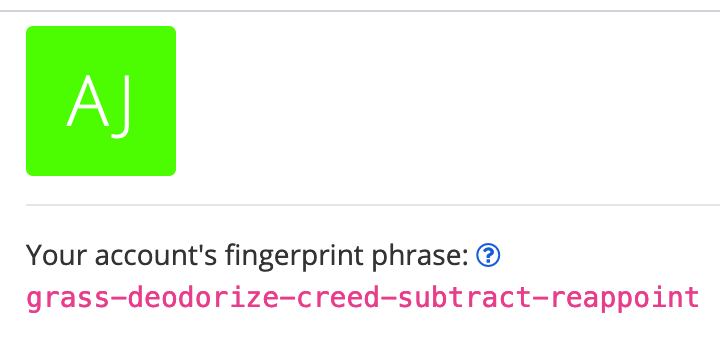
Communicate with the new user over a channel you trust to confirm that the phrases match, then you can confirm them and they’ll have access to the password collections you chose for them!
Other features
Bitwarden has many other features and the Vaultwarden server supports many of them.
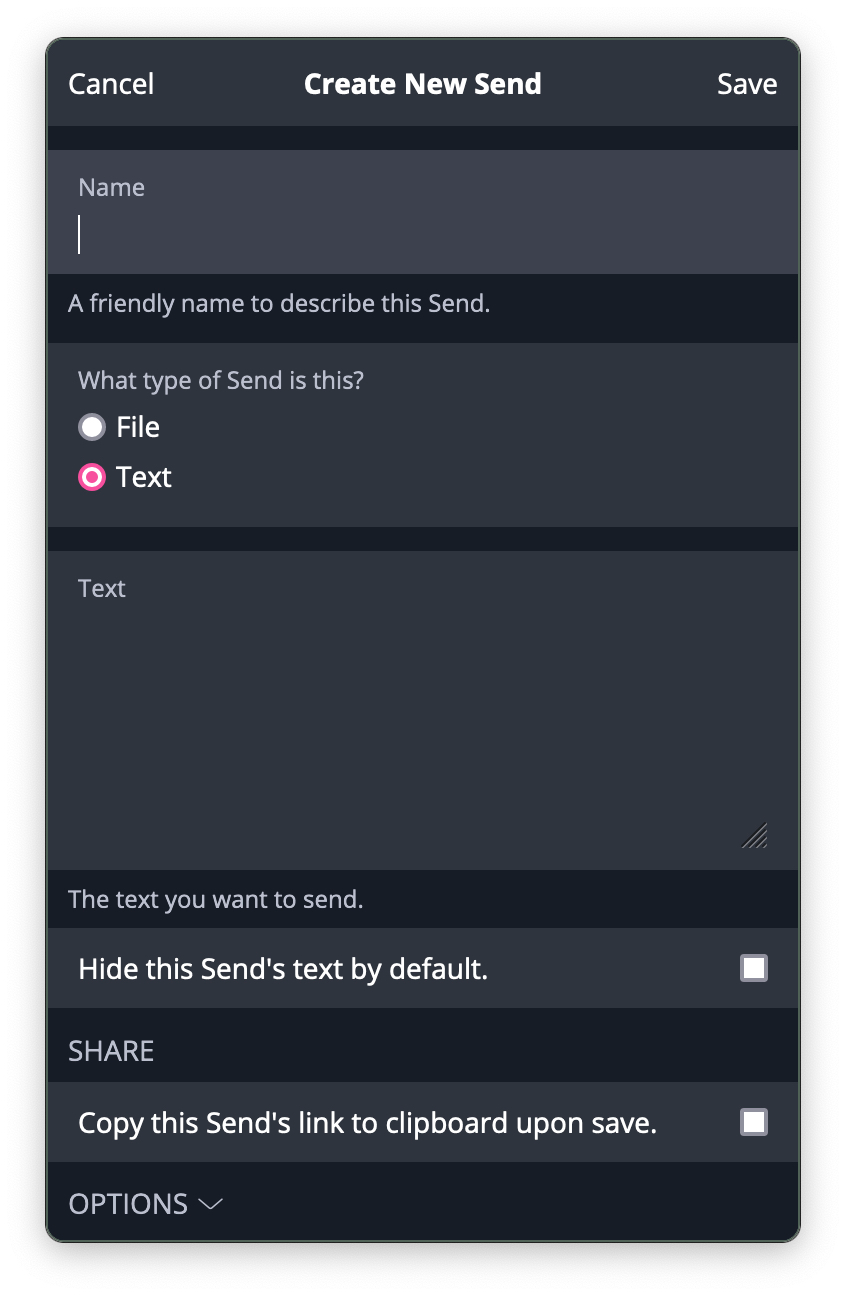
Securely send ephemeral data
Exposed, reused, weak password and data breach reports
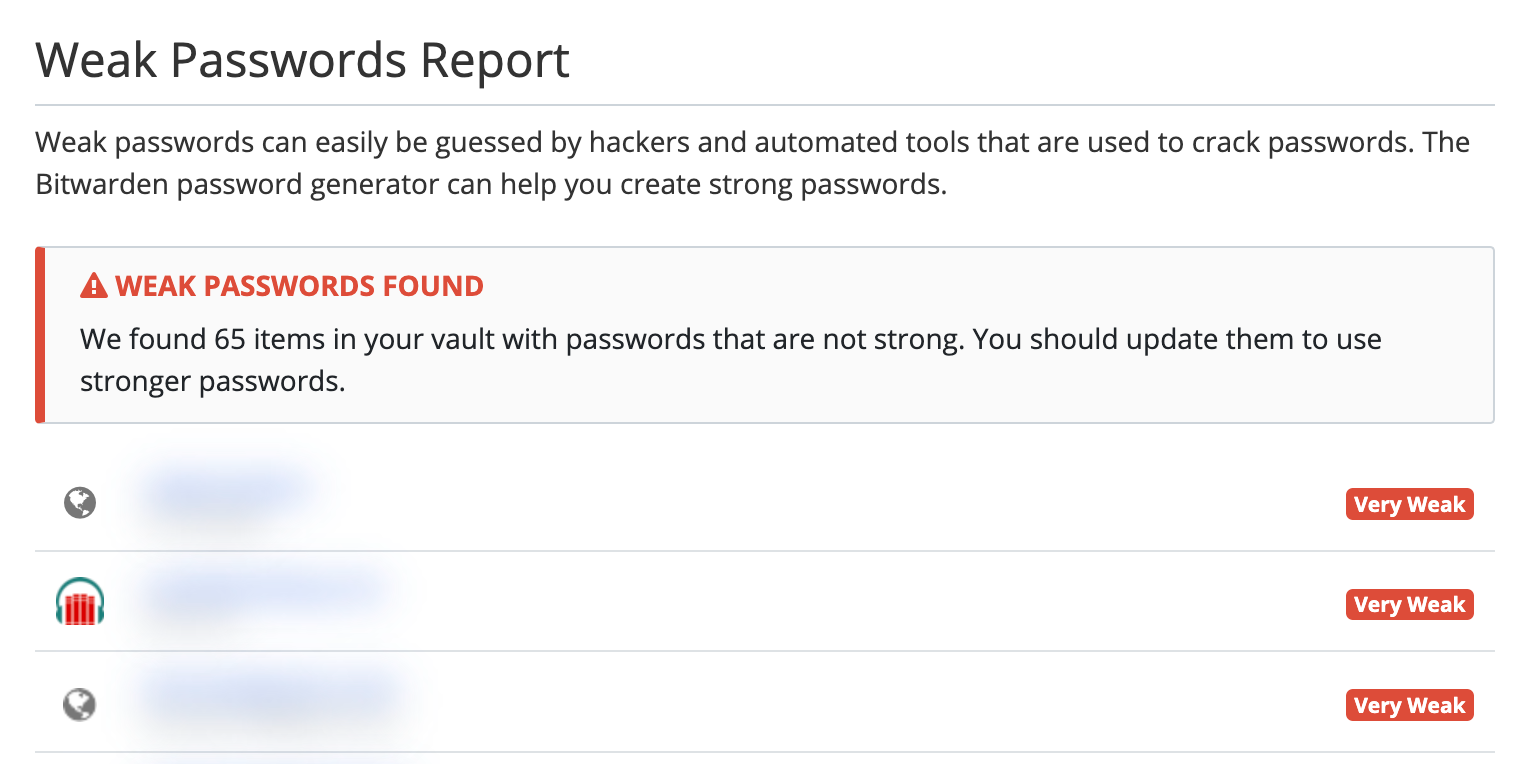
You can see these reports in the web interface under Tools.
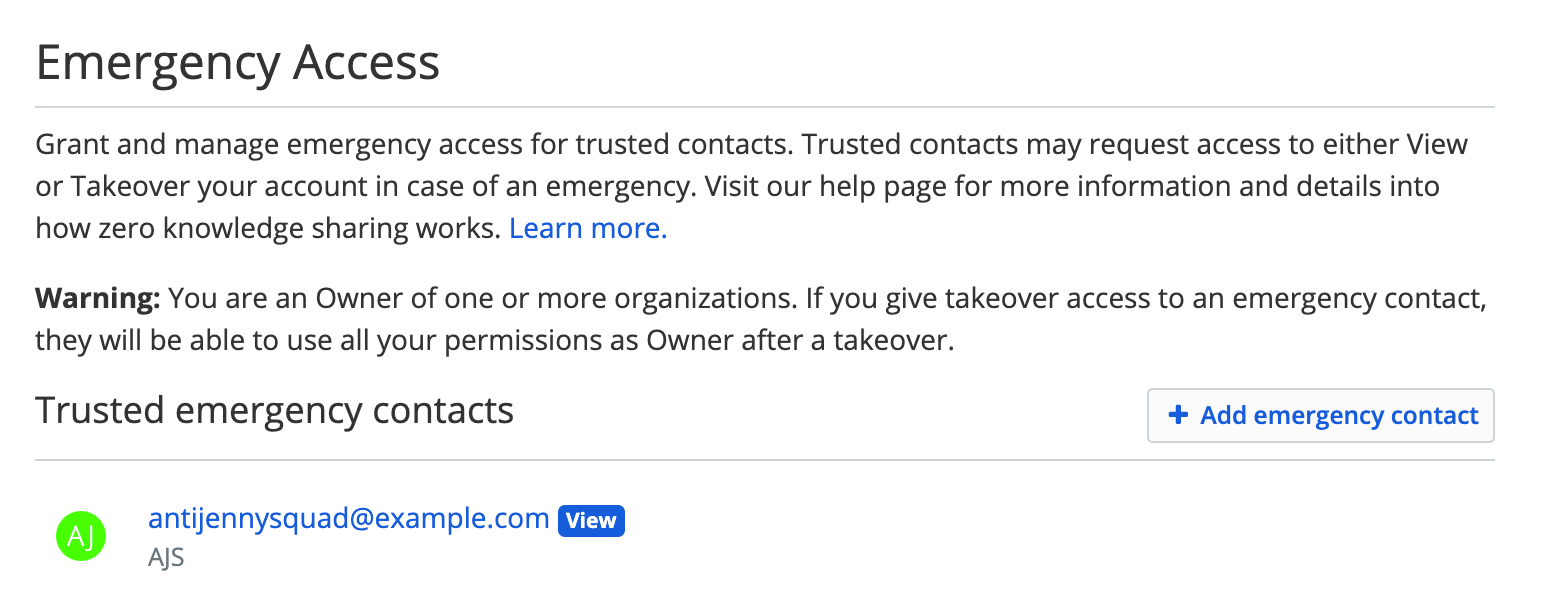
Allow access to your vault in cases of emergency
Advanced: two-factor authentication
For shared accounts where group members are logging in and out from different devices and locations, services can sometimes identify this as suspect traffic and lock accounts or insist that an already-logged-in device be used to authenticate a new login. When available, two-factor authentication (2FA) is one way to prevent this. Bitwarden supports a version of 2FA called Time-based One-Time Password (TOTP). Here’s an example with Twitter, accessible under the “Security and account access” settings:
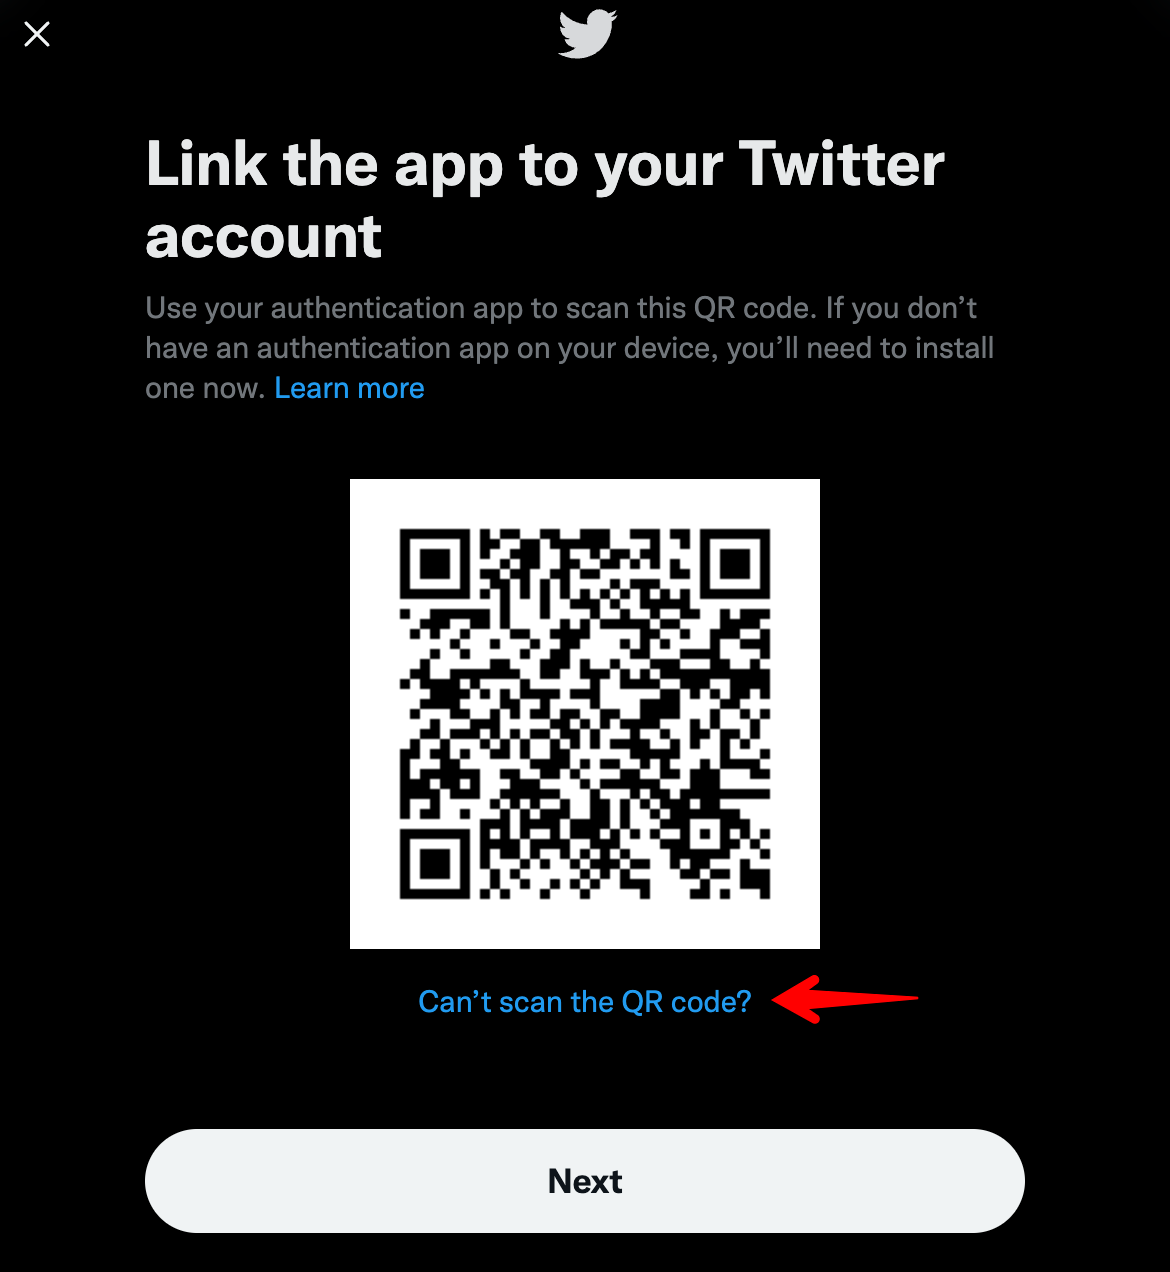
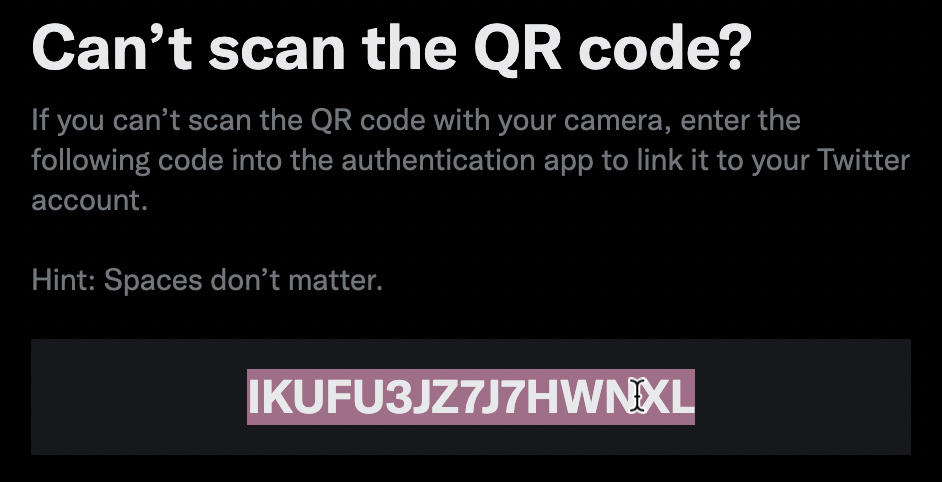
We don’t want to scan a QR code, so click the link and copy the string shown:
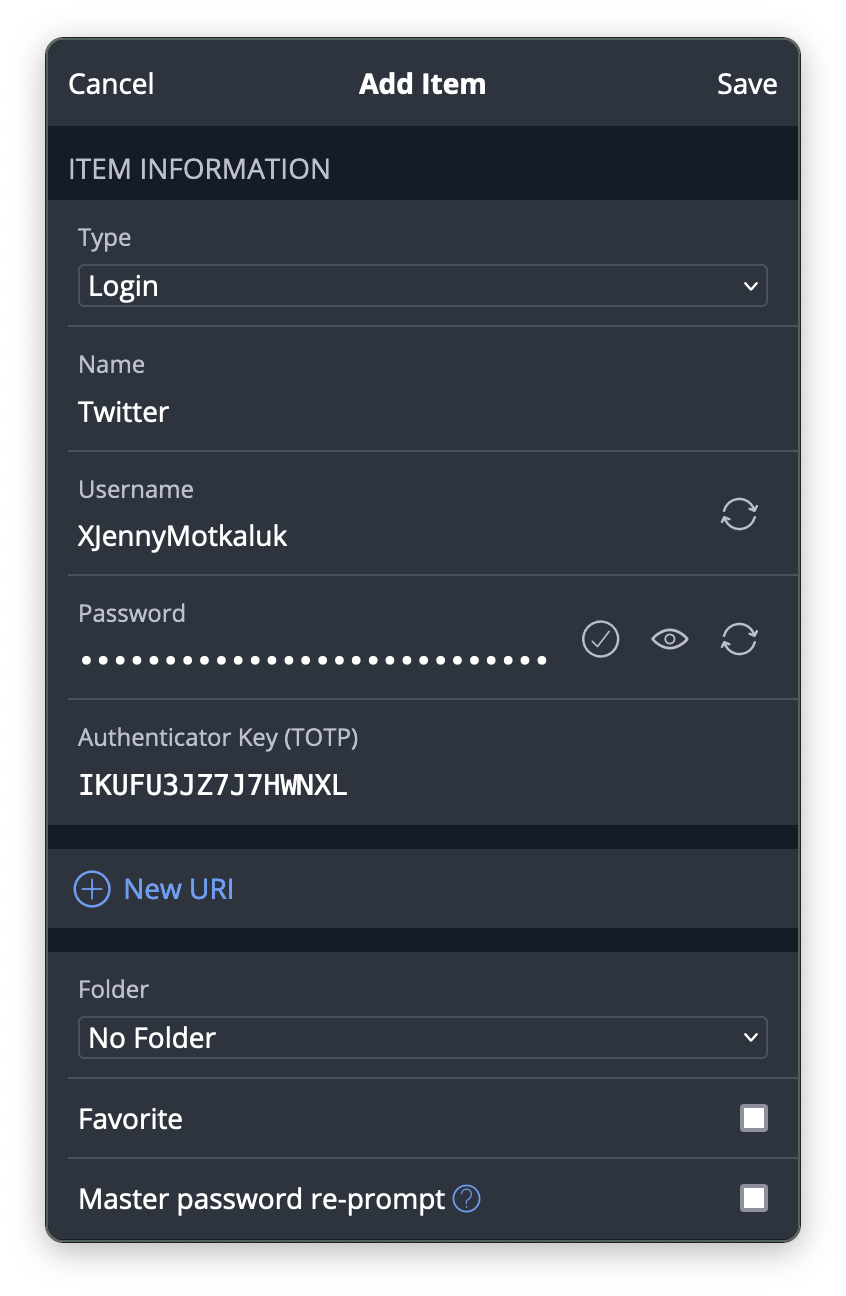
Paste the string into the Bitwarden login item under “Authenticator Key (TOTP)”:
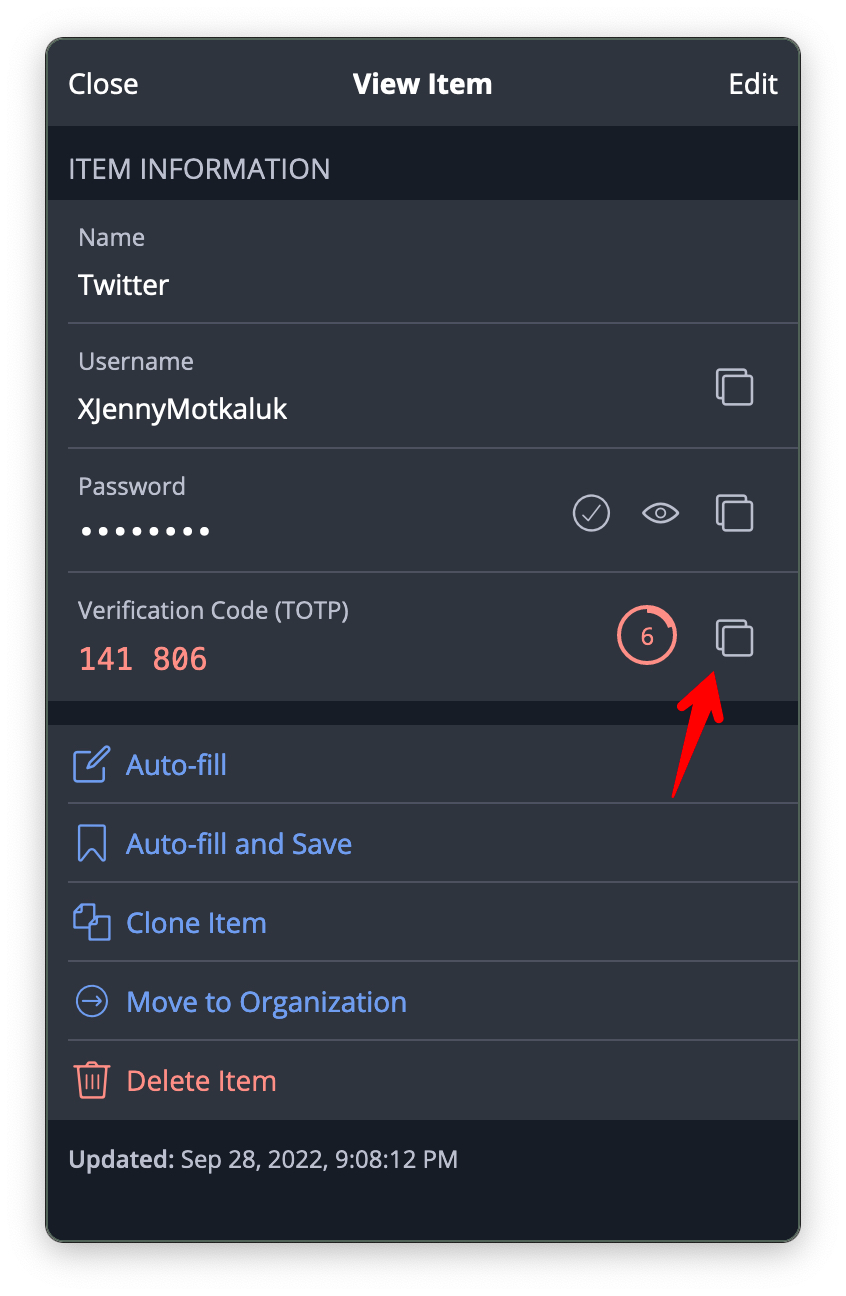
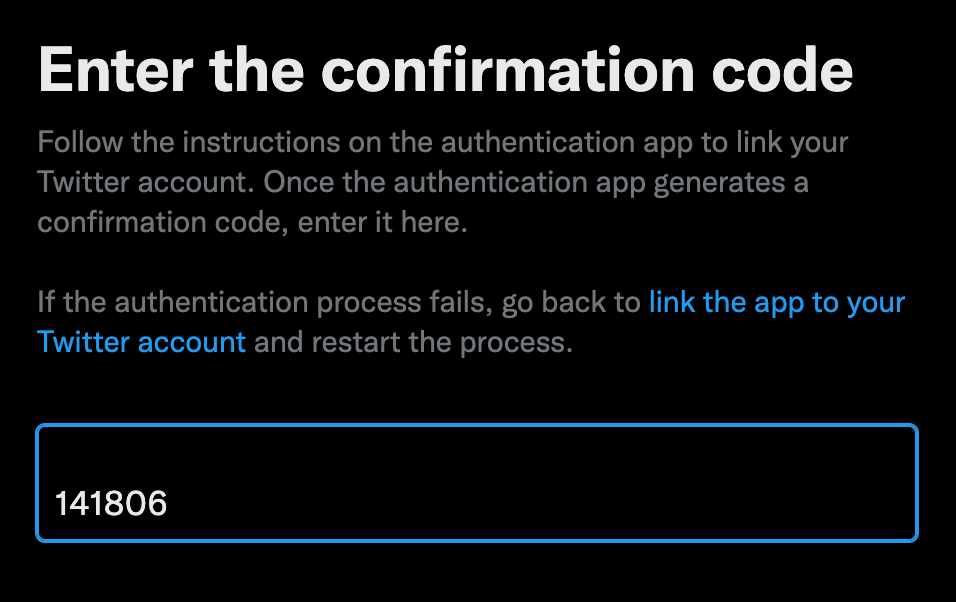
Save the login item and then copy the current code, which changes every 30 seconds, and paste it into the field on Twitter:
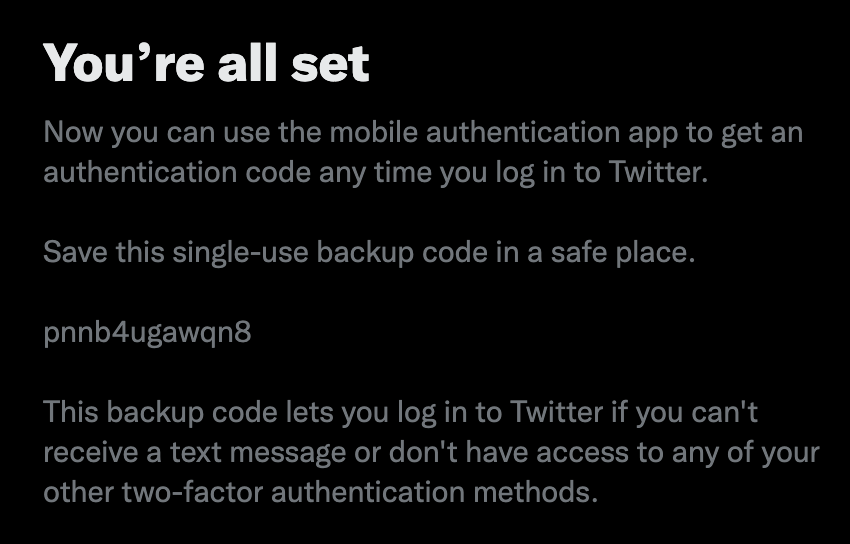
Twitter will also give you a “single-use backup code” to store “in a safe place”. You could use a hidden custom field in the Bitwarden login item, or some offline mechanism if you need xtreem security.
Using 2FA when logging in
It’s common to need to copy these codes when logging in, so there’s a shortcut in the account list.
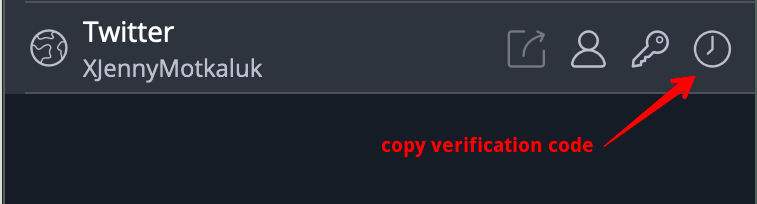
When a site is configured in a way that’s compatible with Bitwarden, it will even automatically copy the code to your clipboard after it has filled in your username and password so you can paste it on the verification code followup.